Navigating to the Task Tool
When you first log into the RMT application, you’ll land on the Roads List Tab—the hub where you can see your entire road network, review condition data, and dive into the details that drive smarter decision-making.
 To navigate to the Tasks List in RMT, take your cursor to the left-hand side of the screen and hover over the navigation bar. This will open the menu option. Under the Roads drop-down, you’ll see the “WOM” option. Click this option.
Under the “WOM” dropdown, the first option is “Tasks.” On this page, you’ll notice three key elements right away:
- A map of your agency’s area.
- Your Task List, a detailed table of the tasks in your account.
- A “Create Task” option for creating new tasks for your users.
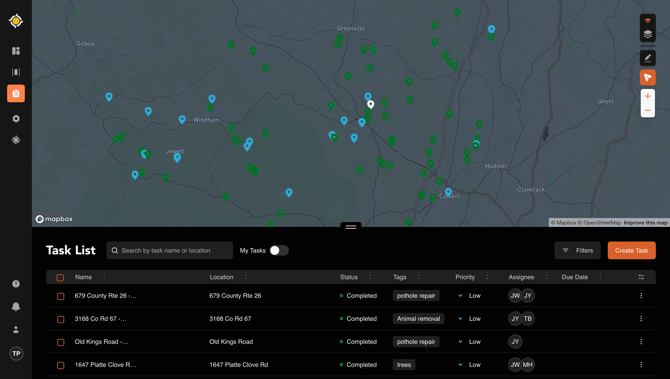
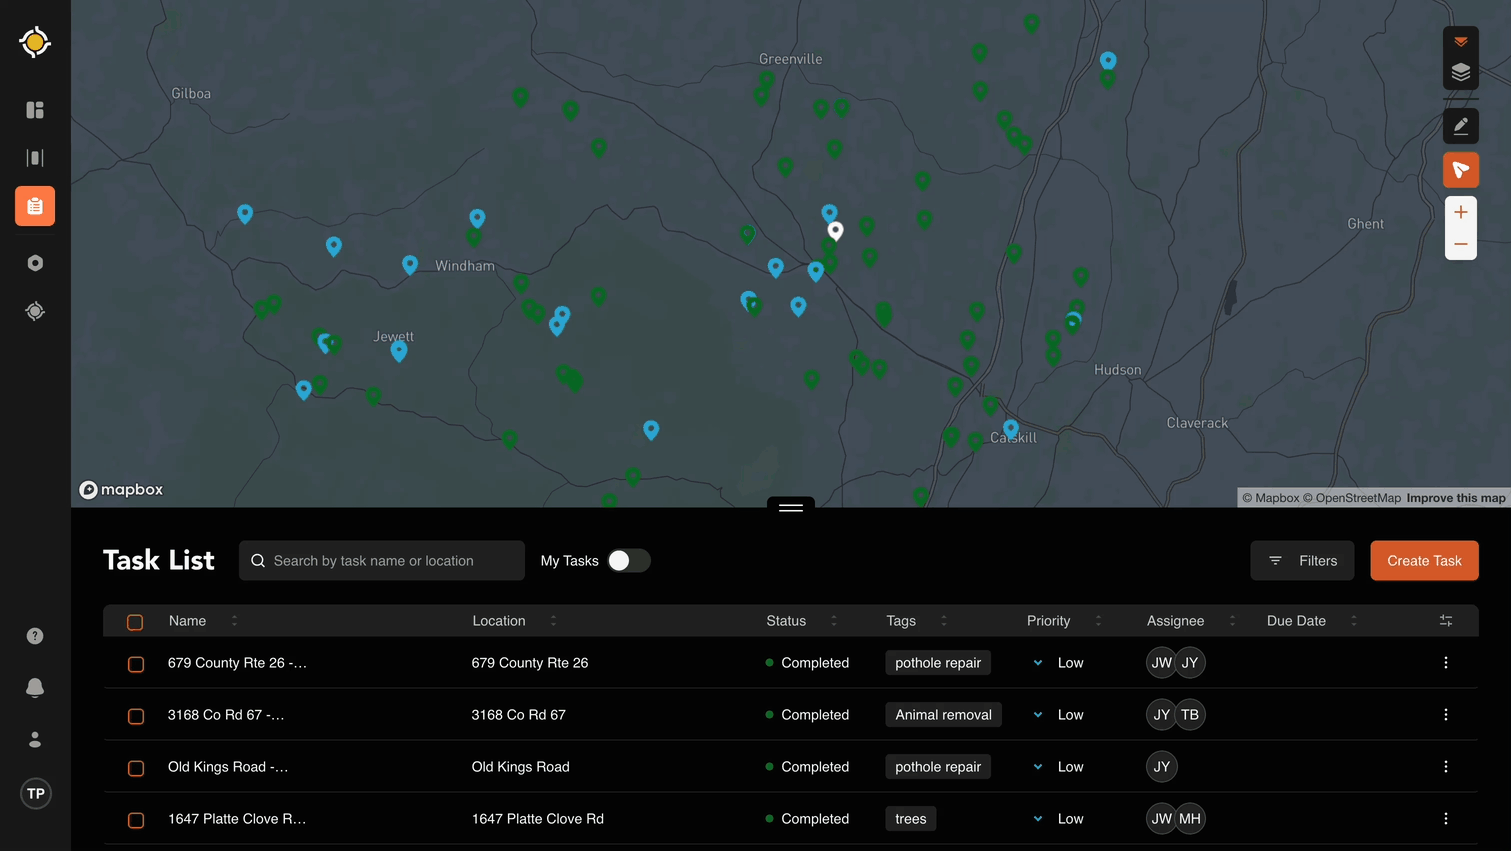
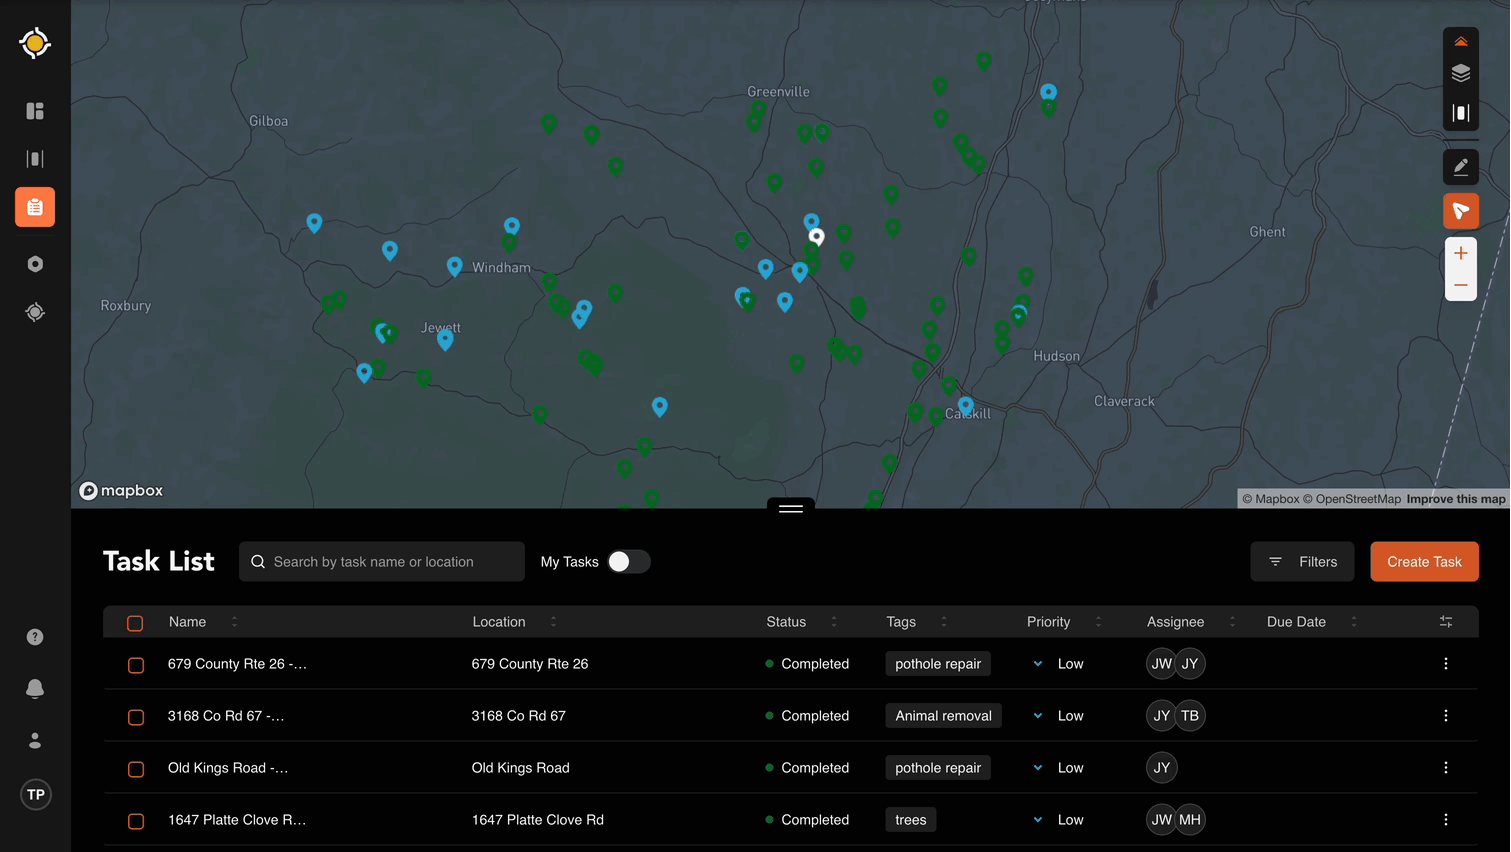
Map Overview
The top half of this page is the Map. The Map is a quick view of all of the tasks in your account. These will be color coded by current status. Here’s a breakdown of the color coding:
| White | Draft |
| Blue | Open |
| Yellow | In Progress |
| Green | Completed |
| Red | Blocked |
Map Layers
You can toggle between two map views:
- Default Map (like Google/Apple Maps)
- Satellite View (for aerial imagery)
To switch views:
- Click the orange double-arrow in the top-right corner.
- Hover over the Map icon.
- Choose Satellite or Default.
Drawing Tool
The Drawing Tool (pencil icon) lets you outline an area of interest on the map—helpful if you want to focus on a specific neighborhood or area to view those tasks.
How it works:
- Click the pencil icon. Your cursor changes from a hand to a crosshair.
- Click points on the map to draw your shape.
- Double-click or click on the starting/origination point to finish.
The map and Task List will now show only the Tasks within your drawn boundary.
- Add more shapes by repeating the process.
- To delete a shape, click the trash can and confirm.
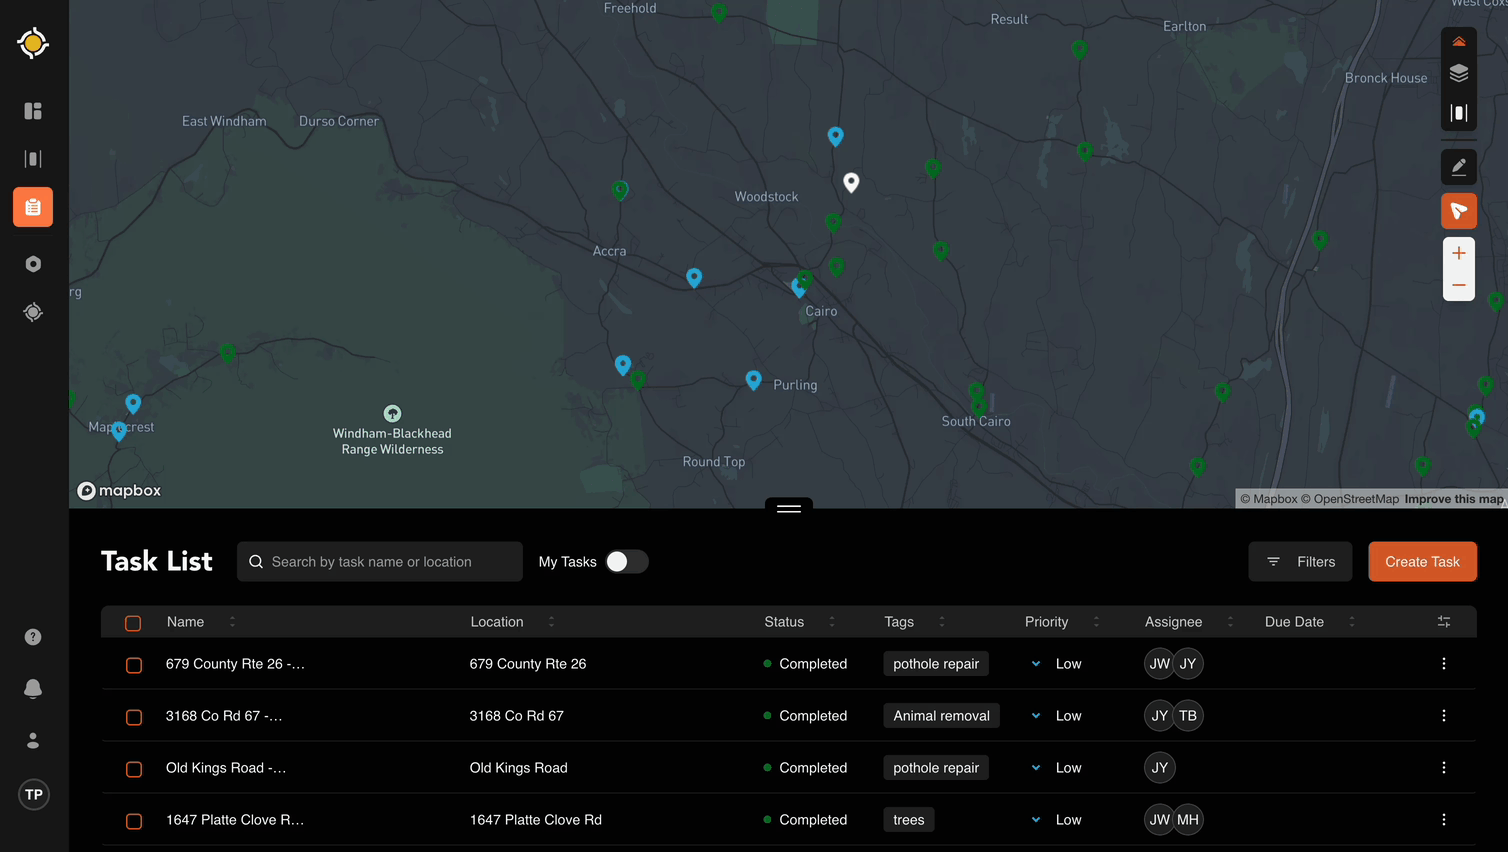
Zoom Tool
Zoom works just like any online map
- Use the +/- buttons on the right side of the map.
- Or simply scroll with your mouse.
Zooming in helps when you want to see specific tasks and their locations within a geographical boundary.
The Task List
Below the map, you’ll find the Task List—a table of all the rtasks that have been created to date in your environment. This is where details come alive. By default, you’ll see:
| Task Name | Location | Status |
| Tags | Priority | Due Date |
But you can easily remove columns to simplify this dashboard. To customize:
- Go to the far right of the table.
- Click the column visibility toggle.
- Check the boxes for the data you want.
Filters
Filters help you cut through the noise and zero in on what matters. You’ll find them under the Filters option on the right side of the screen.
Available filters include:
| Tags |
| Assignee |
| Status |
| Priority |
Filters enable you to focus on the tasks that are most relevant to you and your current needs. If you’re looking to zoom in on tasks relevant to a specific user, the current status, etc, you’ll find those here.
To get additional assistance, please contact the RMT Support team via email at support@roadmantech.com!